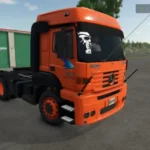
How to Install ETS2 Mods?
Euro Truck Simulator 2 mods add new trucks, gameplay features, updated fuel prices, truck customization and tuning parts, maps, and many other features to the game. Installing ETS2 mods is quite easy.
ETS2 mods usually consist of files with the .scs extension. However, the ETS2 mod system also supports ZIP files.
Mod Installation Path:
Documents > Euro Truck Simulator 2 > mod
C:\Users\YOURUSERNAME\Documents\Euro Truck Simulator 2\mod
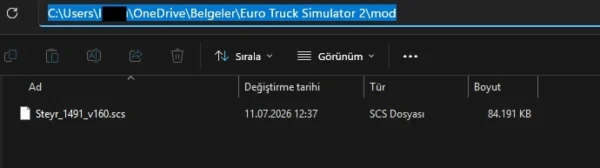
If the mod folder does not exist, you can create it manually.
Copy the mod file with the .zip or .scs extension into the folder specified above.
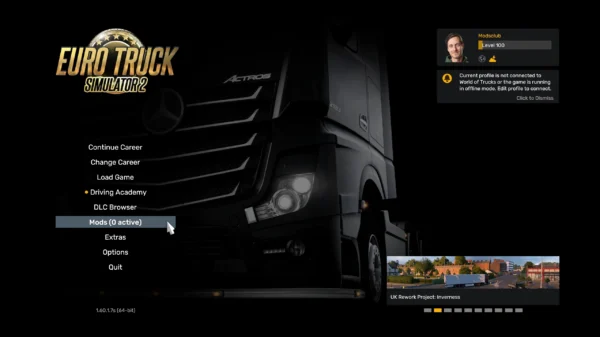
Launch the game and open the Mod Manager from the main menu.
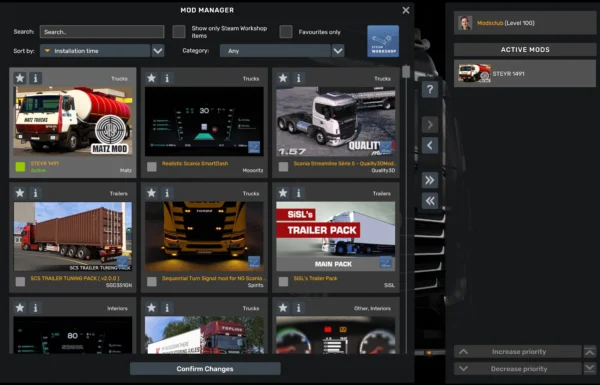
Find the newly added mod in the grid list on the right, then double-click it to move it to the active mods list on the left. Finally, click Confirm Changes to activate the mod.
Load an existing saved game or create a new profile.
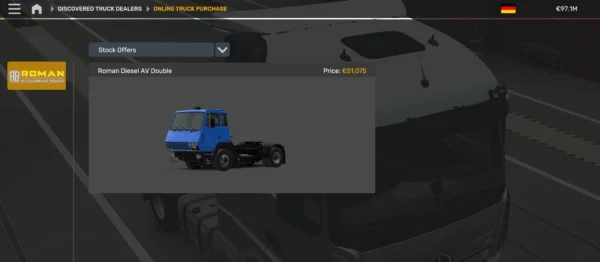
If you installed a vehicle mod such as a truck, car, or bus, you can usually purchase the newly added vehicle from Truck Gallery > Mod Gallery. If you installed a graphics or gameplay mod, such as a traffic density or winter season mod, its effects should appear immediately after activation.
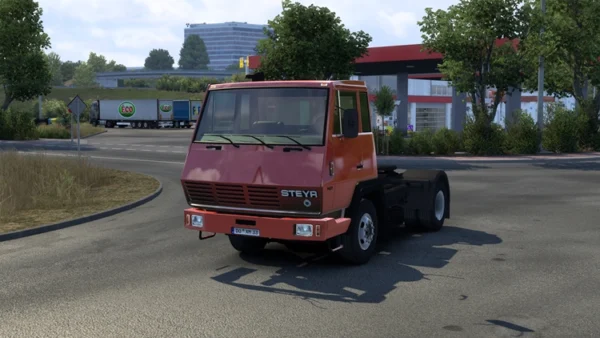
If you installed a map mod, you may need to create a new profile. Otherwise, the map mod may not work properly. This is because some map mods are designed as standalone base maps, while others connect to the main European map in a similar way to official DLC expansions.
Map mods that extend the existing Europe map can usually be used with your current saved game. However, standalone base map mods generally require a new profile.